how to tile a counter - Costa Rica style
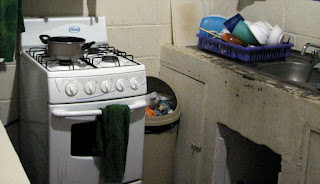
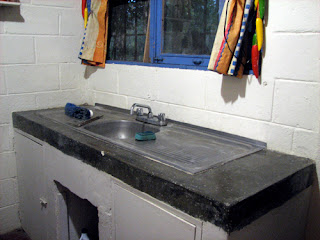
Make sure the counter is ugly enough that it warrants re-tiling. Yup, this one sure makes the cut!

Scrape the paint off. Hmm, it almost looks better with bare concrete than it does with peeling, water-damaged paint.

Apply Plasterbond, a chalky blue substance that is supposedly a "sealer and adhesive". and yet it appears to be water soluble. hmm.... Make sure that you don't drink any plasterbond (I swear i didn't, even if it looks like I did).

Get the tile store to cut tiles for you (it helps if the two people asking for tiles are women between the ages of 23 and 30). Based on the poor construction of your counter to begin with, plus your quick measuring job, and the fact that the tile store may or may not account for grout when they cut you tiles, you will probably have tiles that don't quite fit. It's probably good that you took home a bunch of scrap tiles, but you still have to sand down the pieces that are just too big. The rough concrete floor on your back porch works well for this step.

Mix and apply mortar. The (spanish) instructionsn on the bag only give you the appropriate ratio of water to powder if you are intending to make the whole bag. You aren't, so you try to approximate a third of the bag. You don't know how thick it's supposed to be, but when you decide it looks decent you start applying. Note: if you have a limited wardrobe, it might be wise to avoid getting any of your clothes covered in mortar - it may not come off.

Set the tiles. Use little white crosses (spacers) that don't like to stay in place. Make sure to account for flaws in the counter's construction, such as edges and corners that aren't square. You will end up with crooked grout lines and tile that don't line up, but that's OK, right?

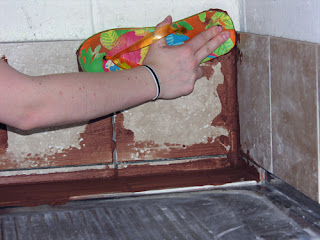
Let the mortar set over night. Apply grout on the next rain day. Use a rubber trowel. If you don't have a rubber trowel for this step.

If you don't have a rubber trowel, a my patented flip flop technique works just as well. I give you permission to use this technique if you ever need to.

And voila! a tiled counter!


2 Comments:
Good Job Girls....
PS: Who is the proud owner of the slightly used flip flop?
hahaha. the funniest thing I've read ina long time niki.
Post a Comment
<< Home